A Totally Transformed Dresser
Hello! Hello! TaMera and I (Jewel) are sooo pumped to show you our newest project!
(We finished it in late November but waited until all the Christmas posts went up.)
We had a few family members tell us that it wasn’t worth the work but we wanted a…ummm…Summer (that turned into much longer) project. A project that we could practice our painting skills on.
Enter our Mom’s childhood dresser!
It had been repainted before and we even found our aunt’s name under one of the layers of paint! We were hoping the wood wouldn’t be beat up so we could keep some of it natural. Unfortunately, it had seen better days and the wood was in bad shape.
Before:
Now, before we get going…No, we don’t have the best before picture. But I (Jewel) have this weird thing I call the “Before Pic Curse” whenever we take a before picture, such as, Great Grandma’s buffet and other projects. We never finish them! 🙈 So, that is my strange excuse for the lack of the very ugly before picture. 😆
Progress Gallery:
Select images to enlarge. // See even more progress pictures in our Instagram Highlight HERE.
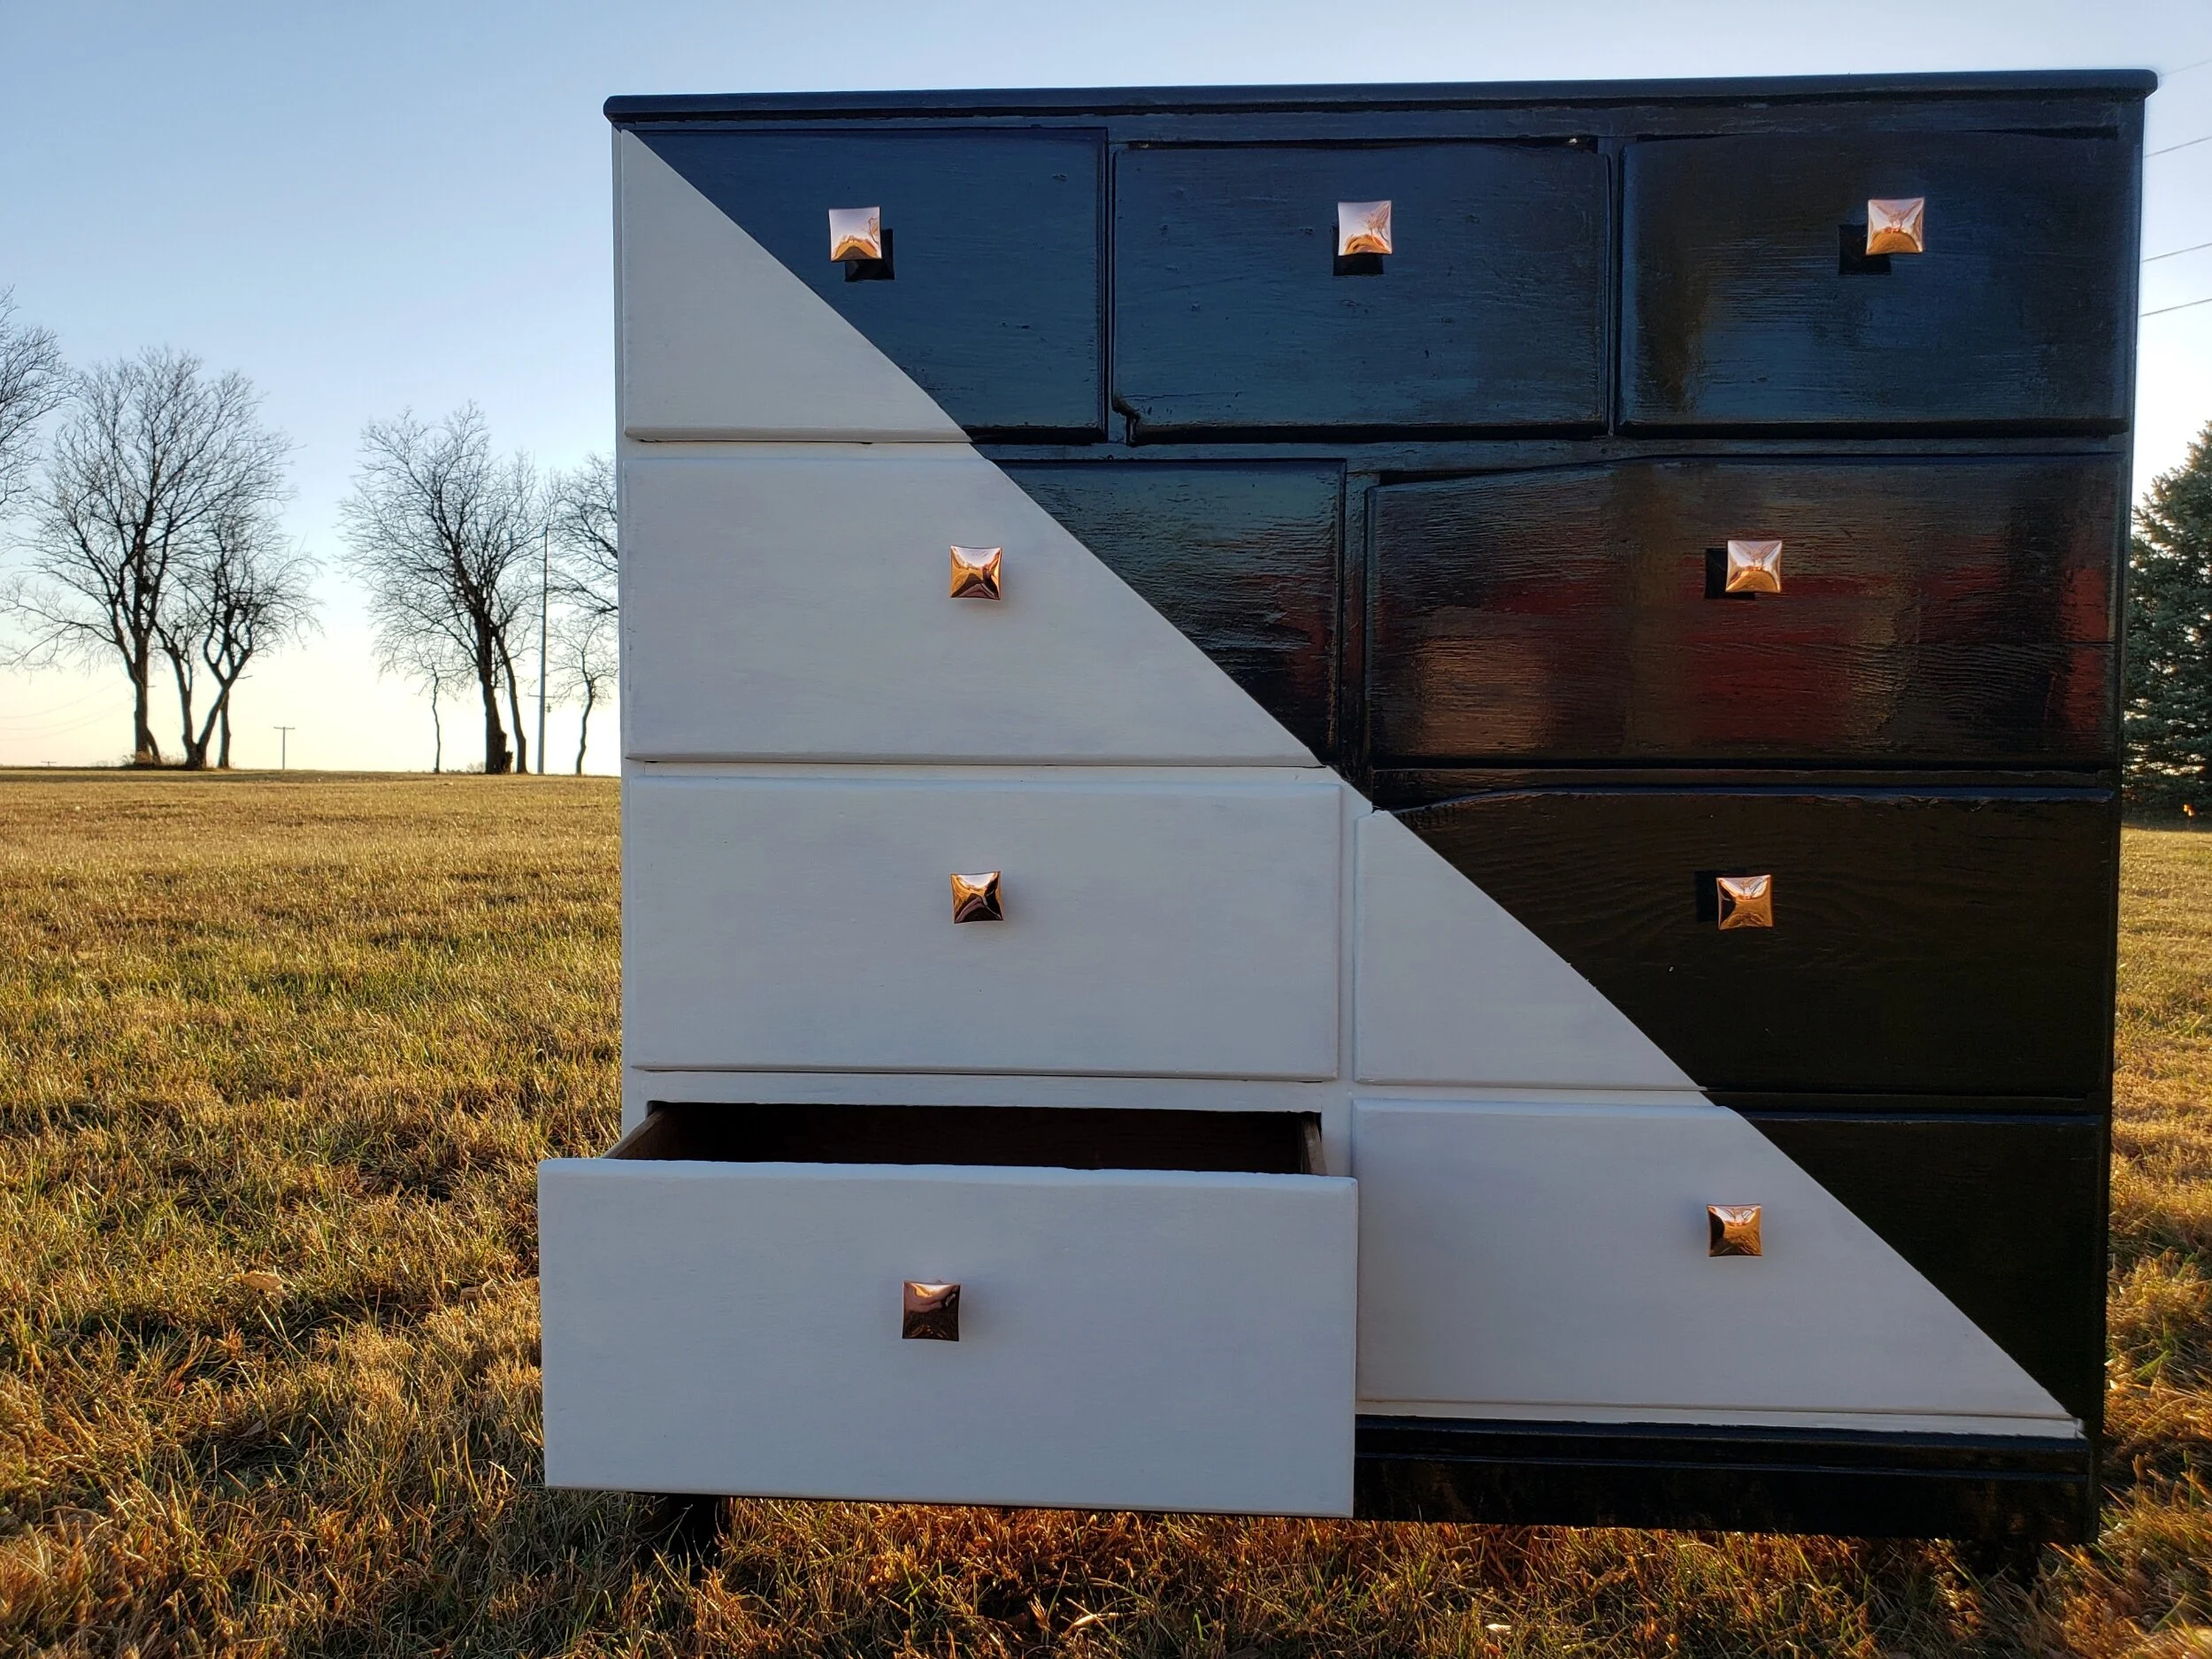
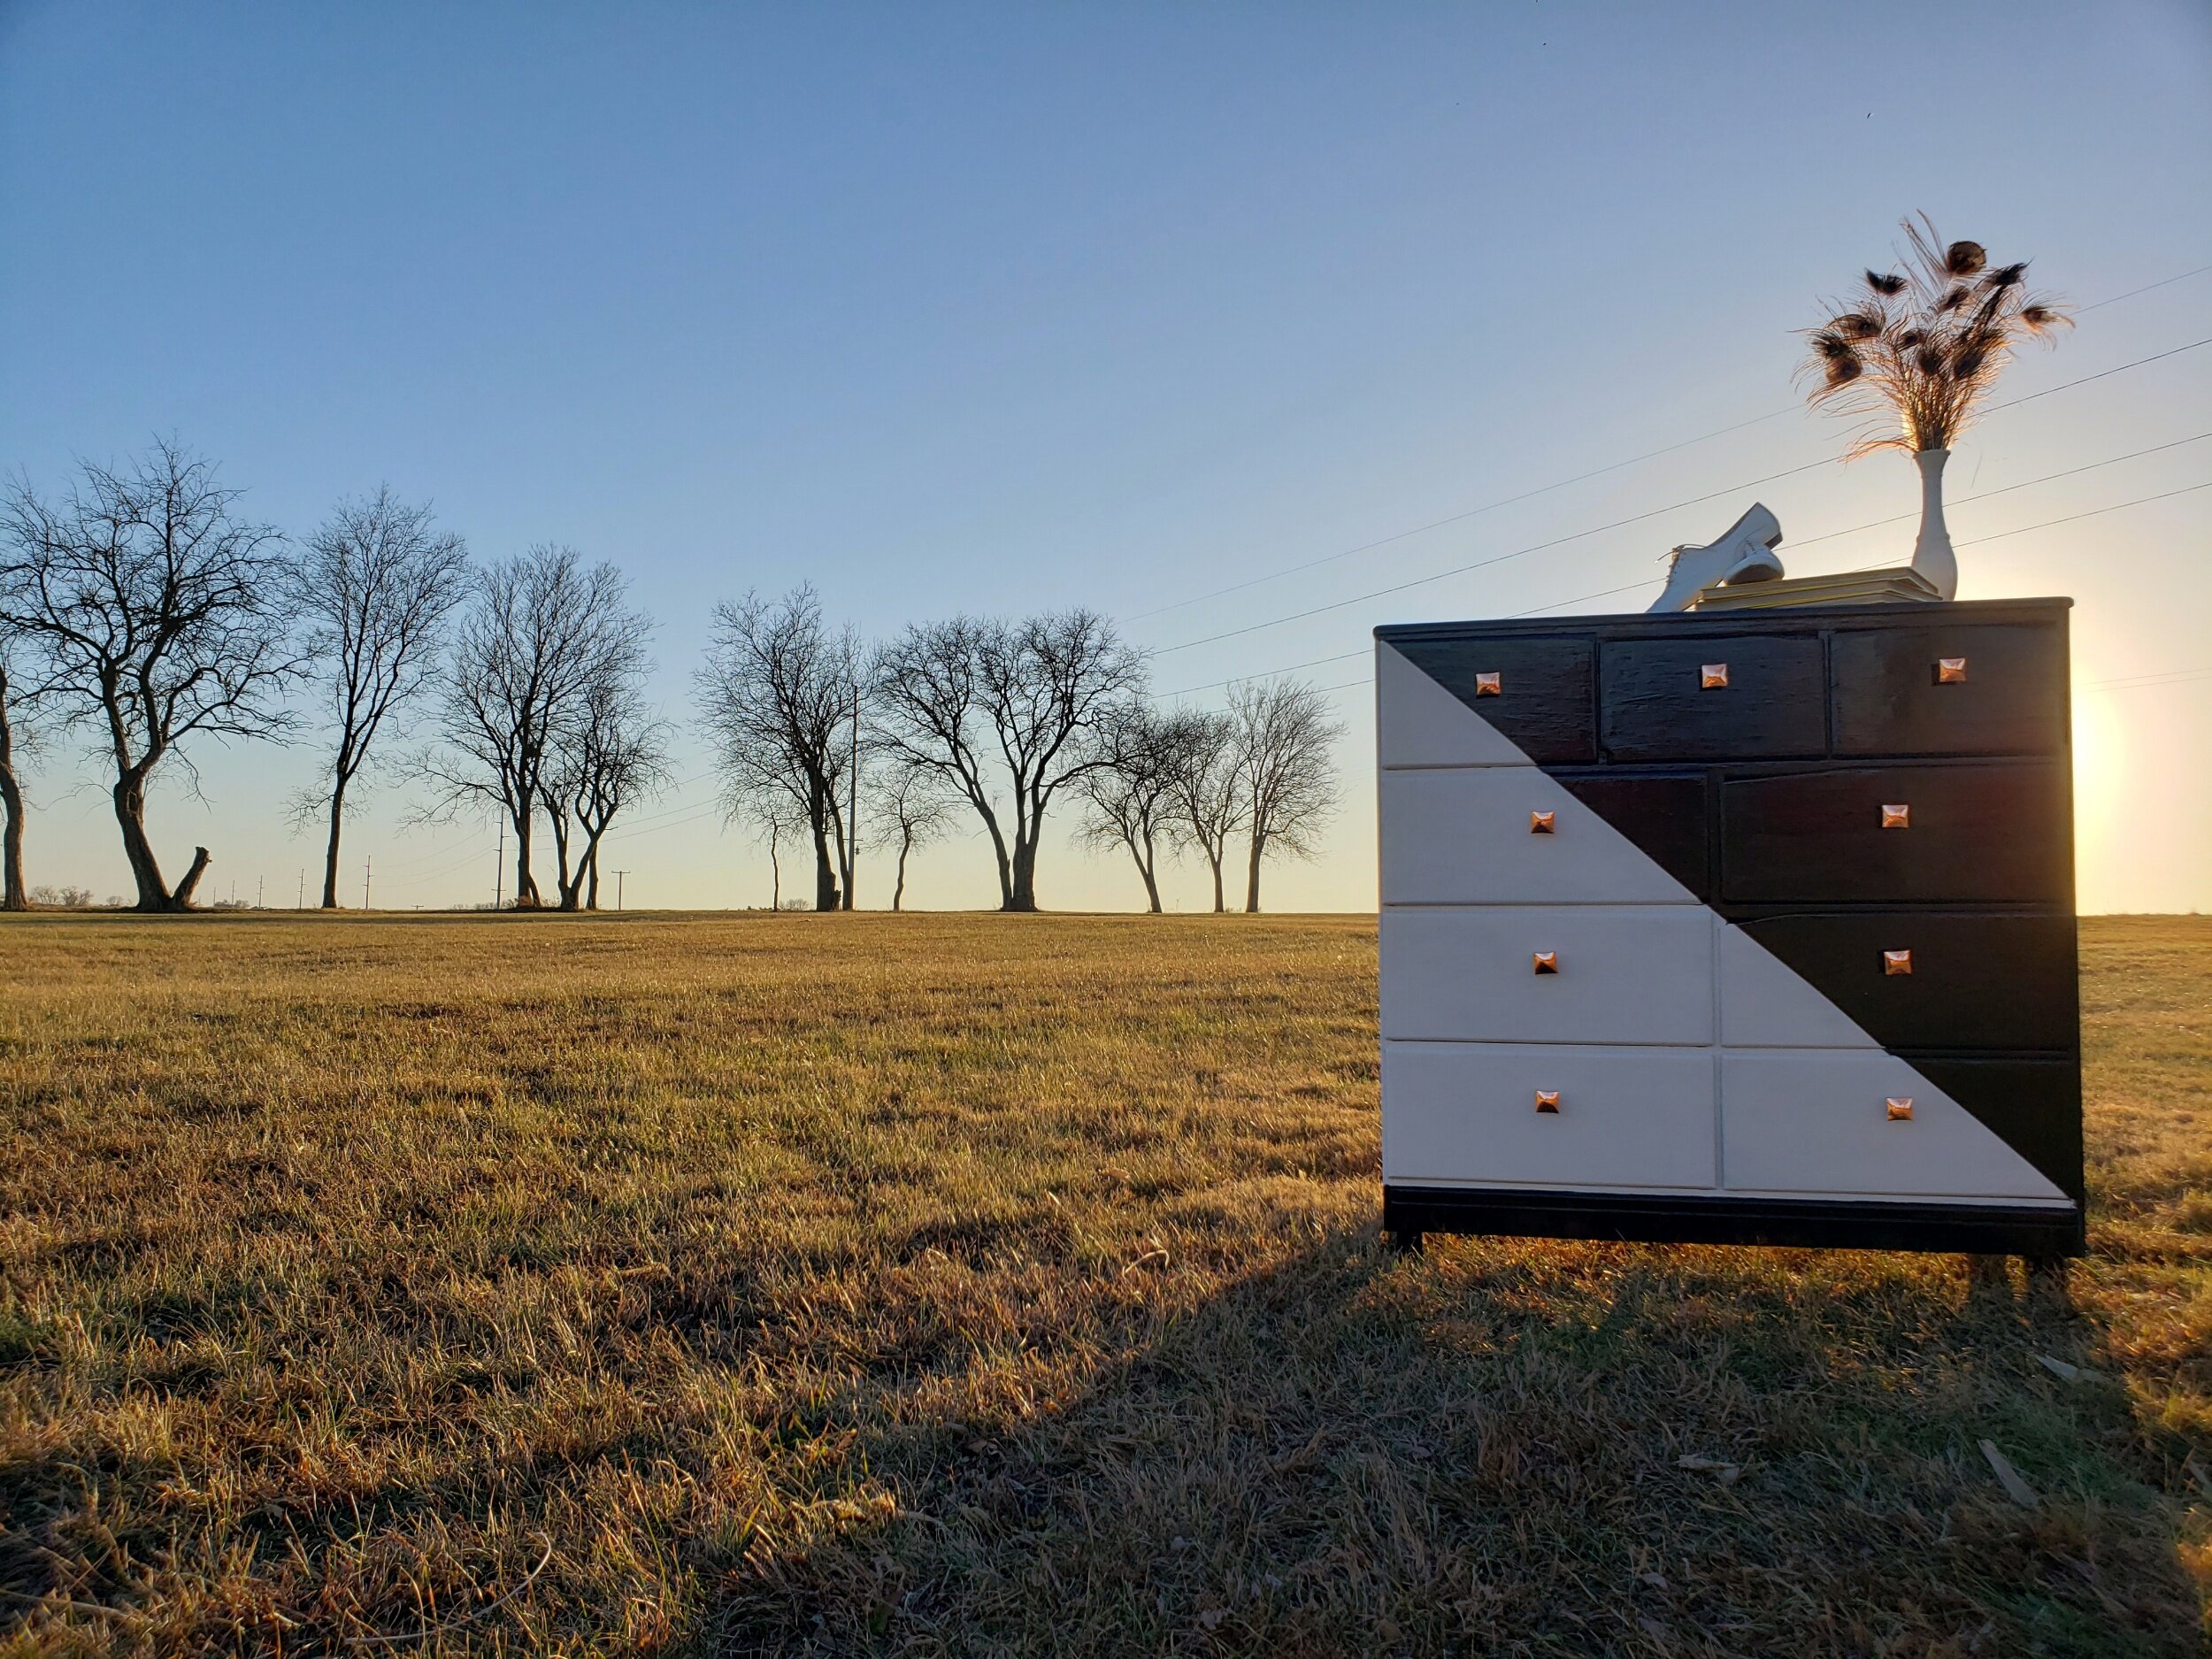
After:
We stripped the paint, stripped again and stripped yet again to work all the paint off. (Some of that due to beginner mistakes.) All the drawers and joints were (wood) glued to help keep any structural issues at bay. We sanded at 80 grit first then 120 grit, and finally it was time to paint!
The black and white paint was some our Dad already had in the shed. The can said the white was “glossy” but it came out a lot more matte than the black — though with the design that extra contrast works well!
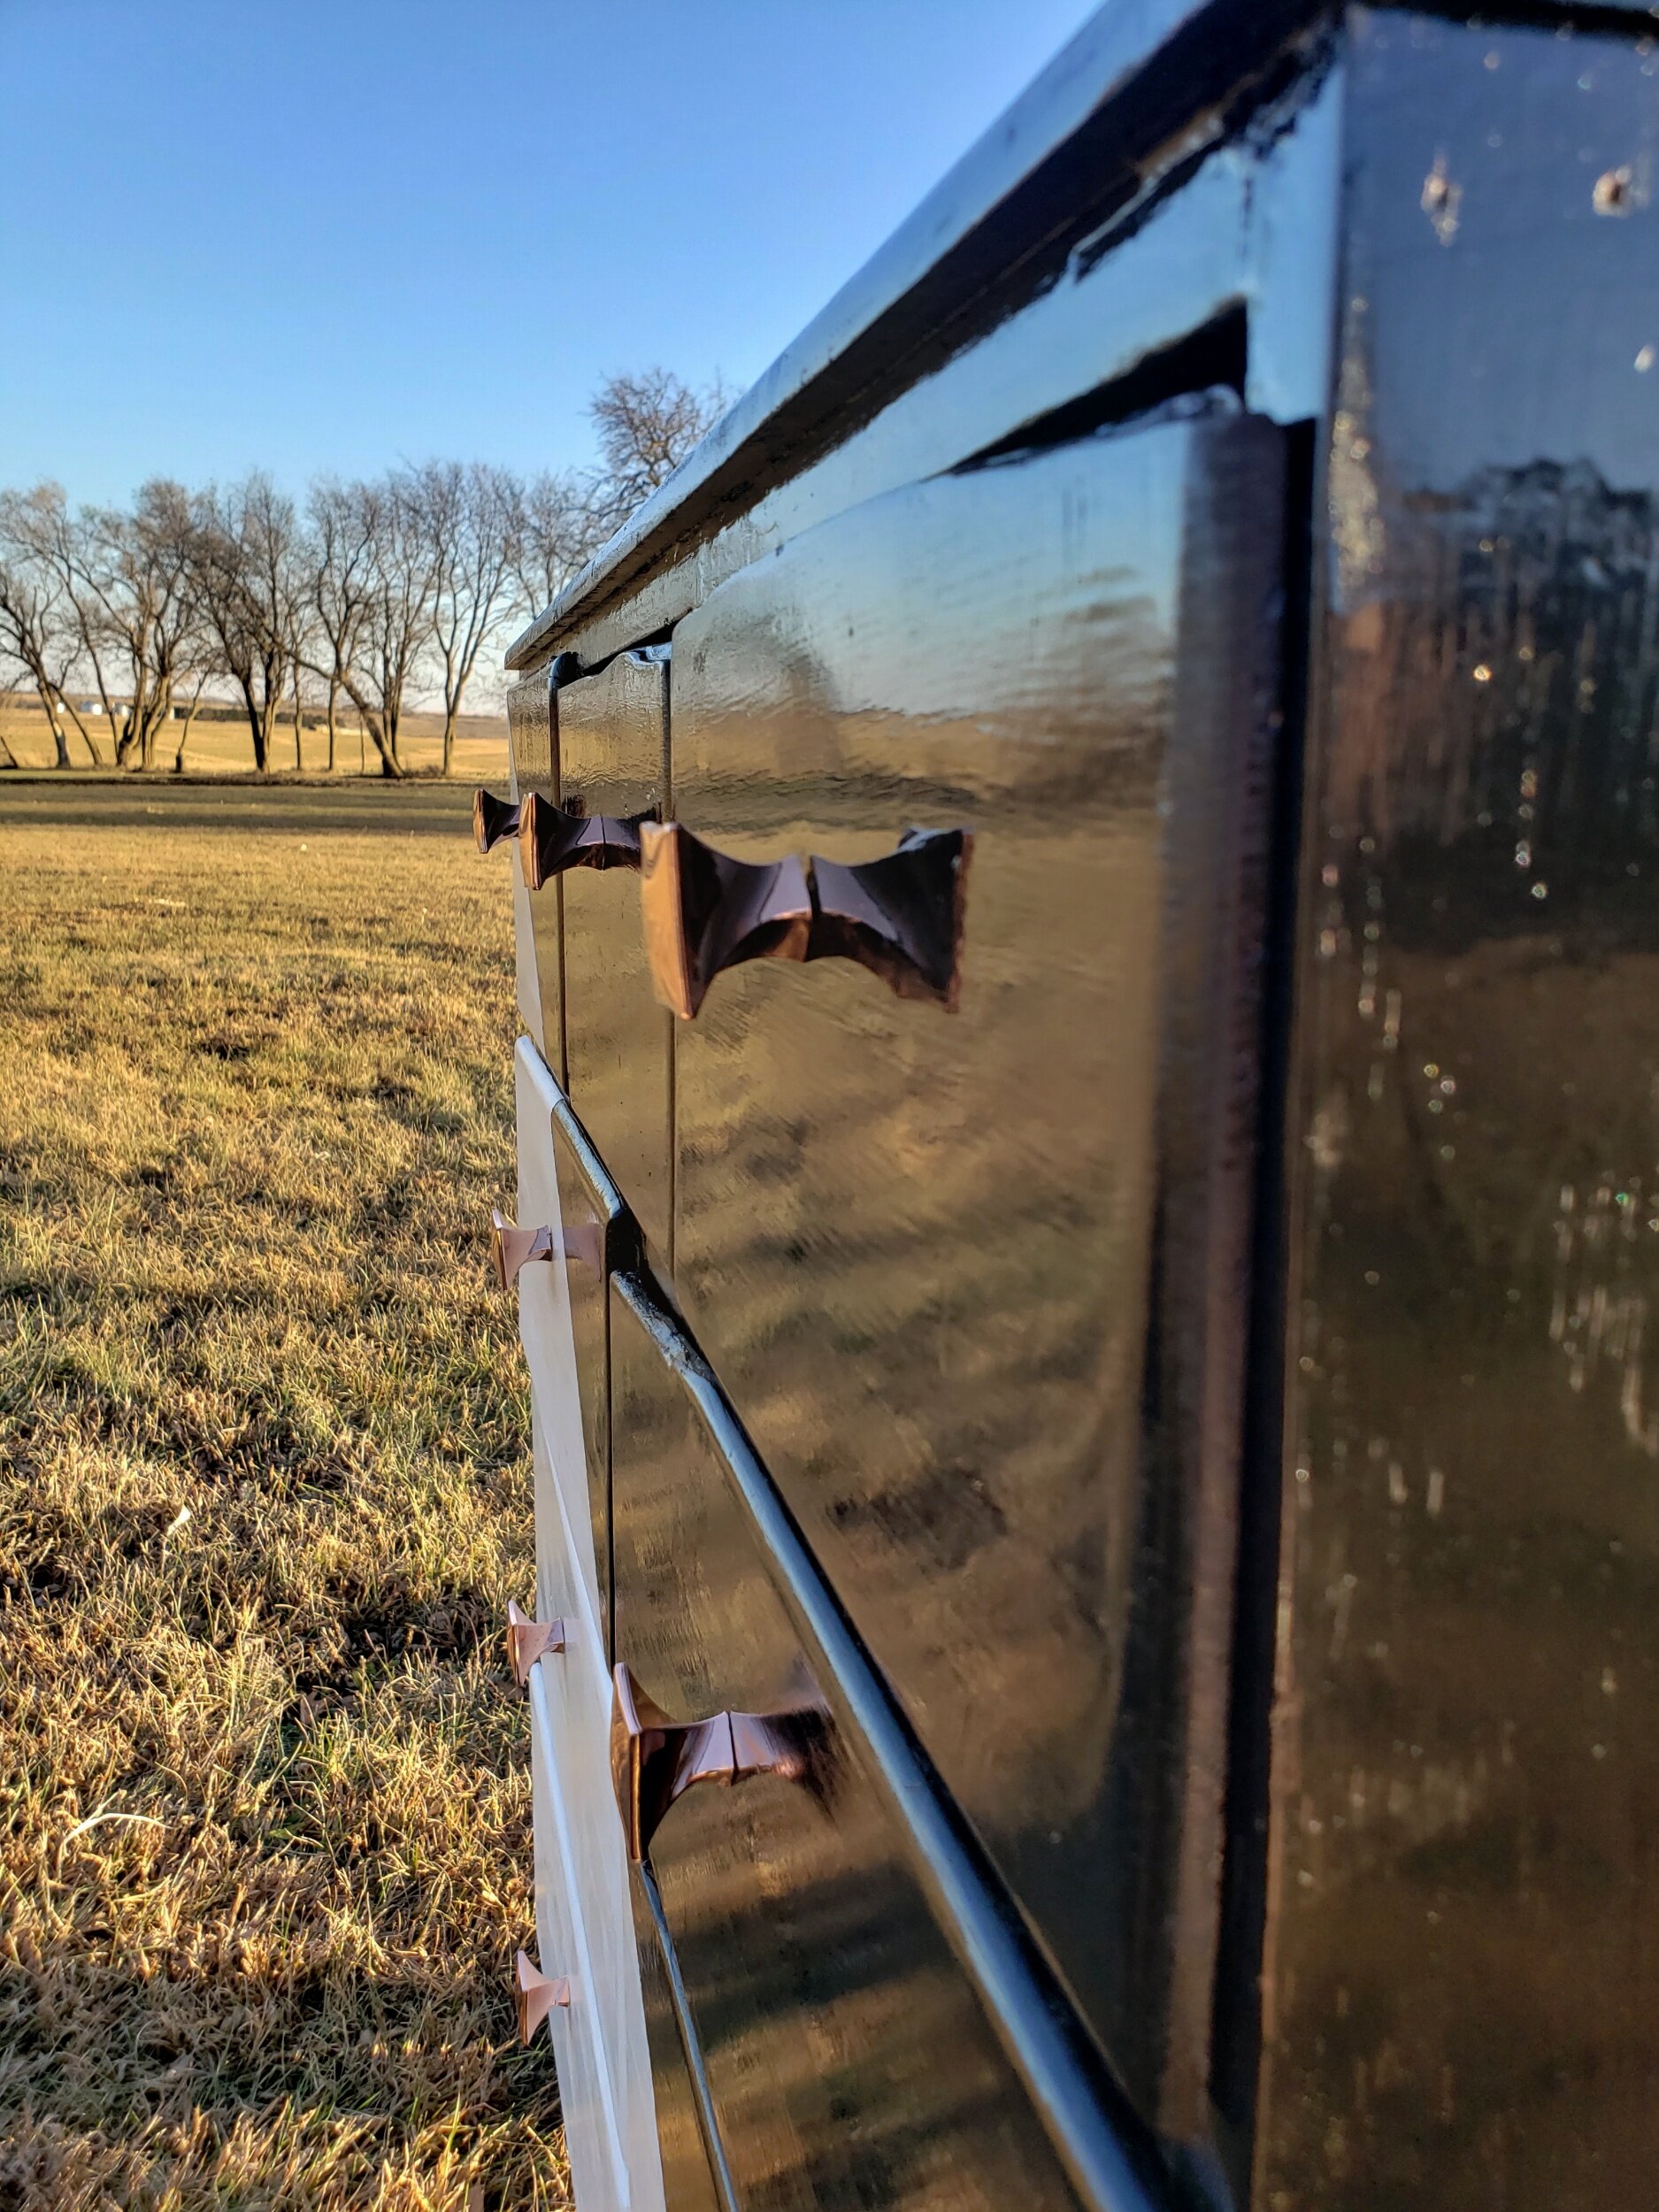
We had copper drawer pulls in our mind from the beginning but didn’t want to spend a fortune on them. We found some on Etsy and for the nine pulls it came out to be $90 and that did not fit into our budget so we passed.
Quite a while later, (close to the end of the project) Jewel was in a Menards store and decided to look at the hardware section to see what they might have…These copper colored pulls were on sale and they came to be about $27! SCORE!
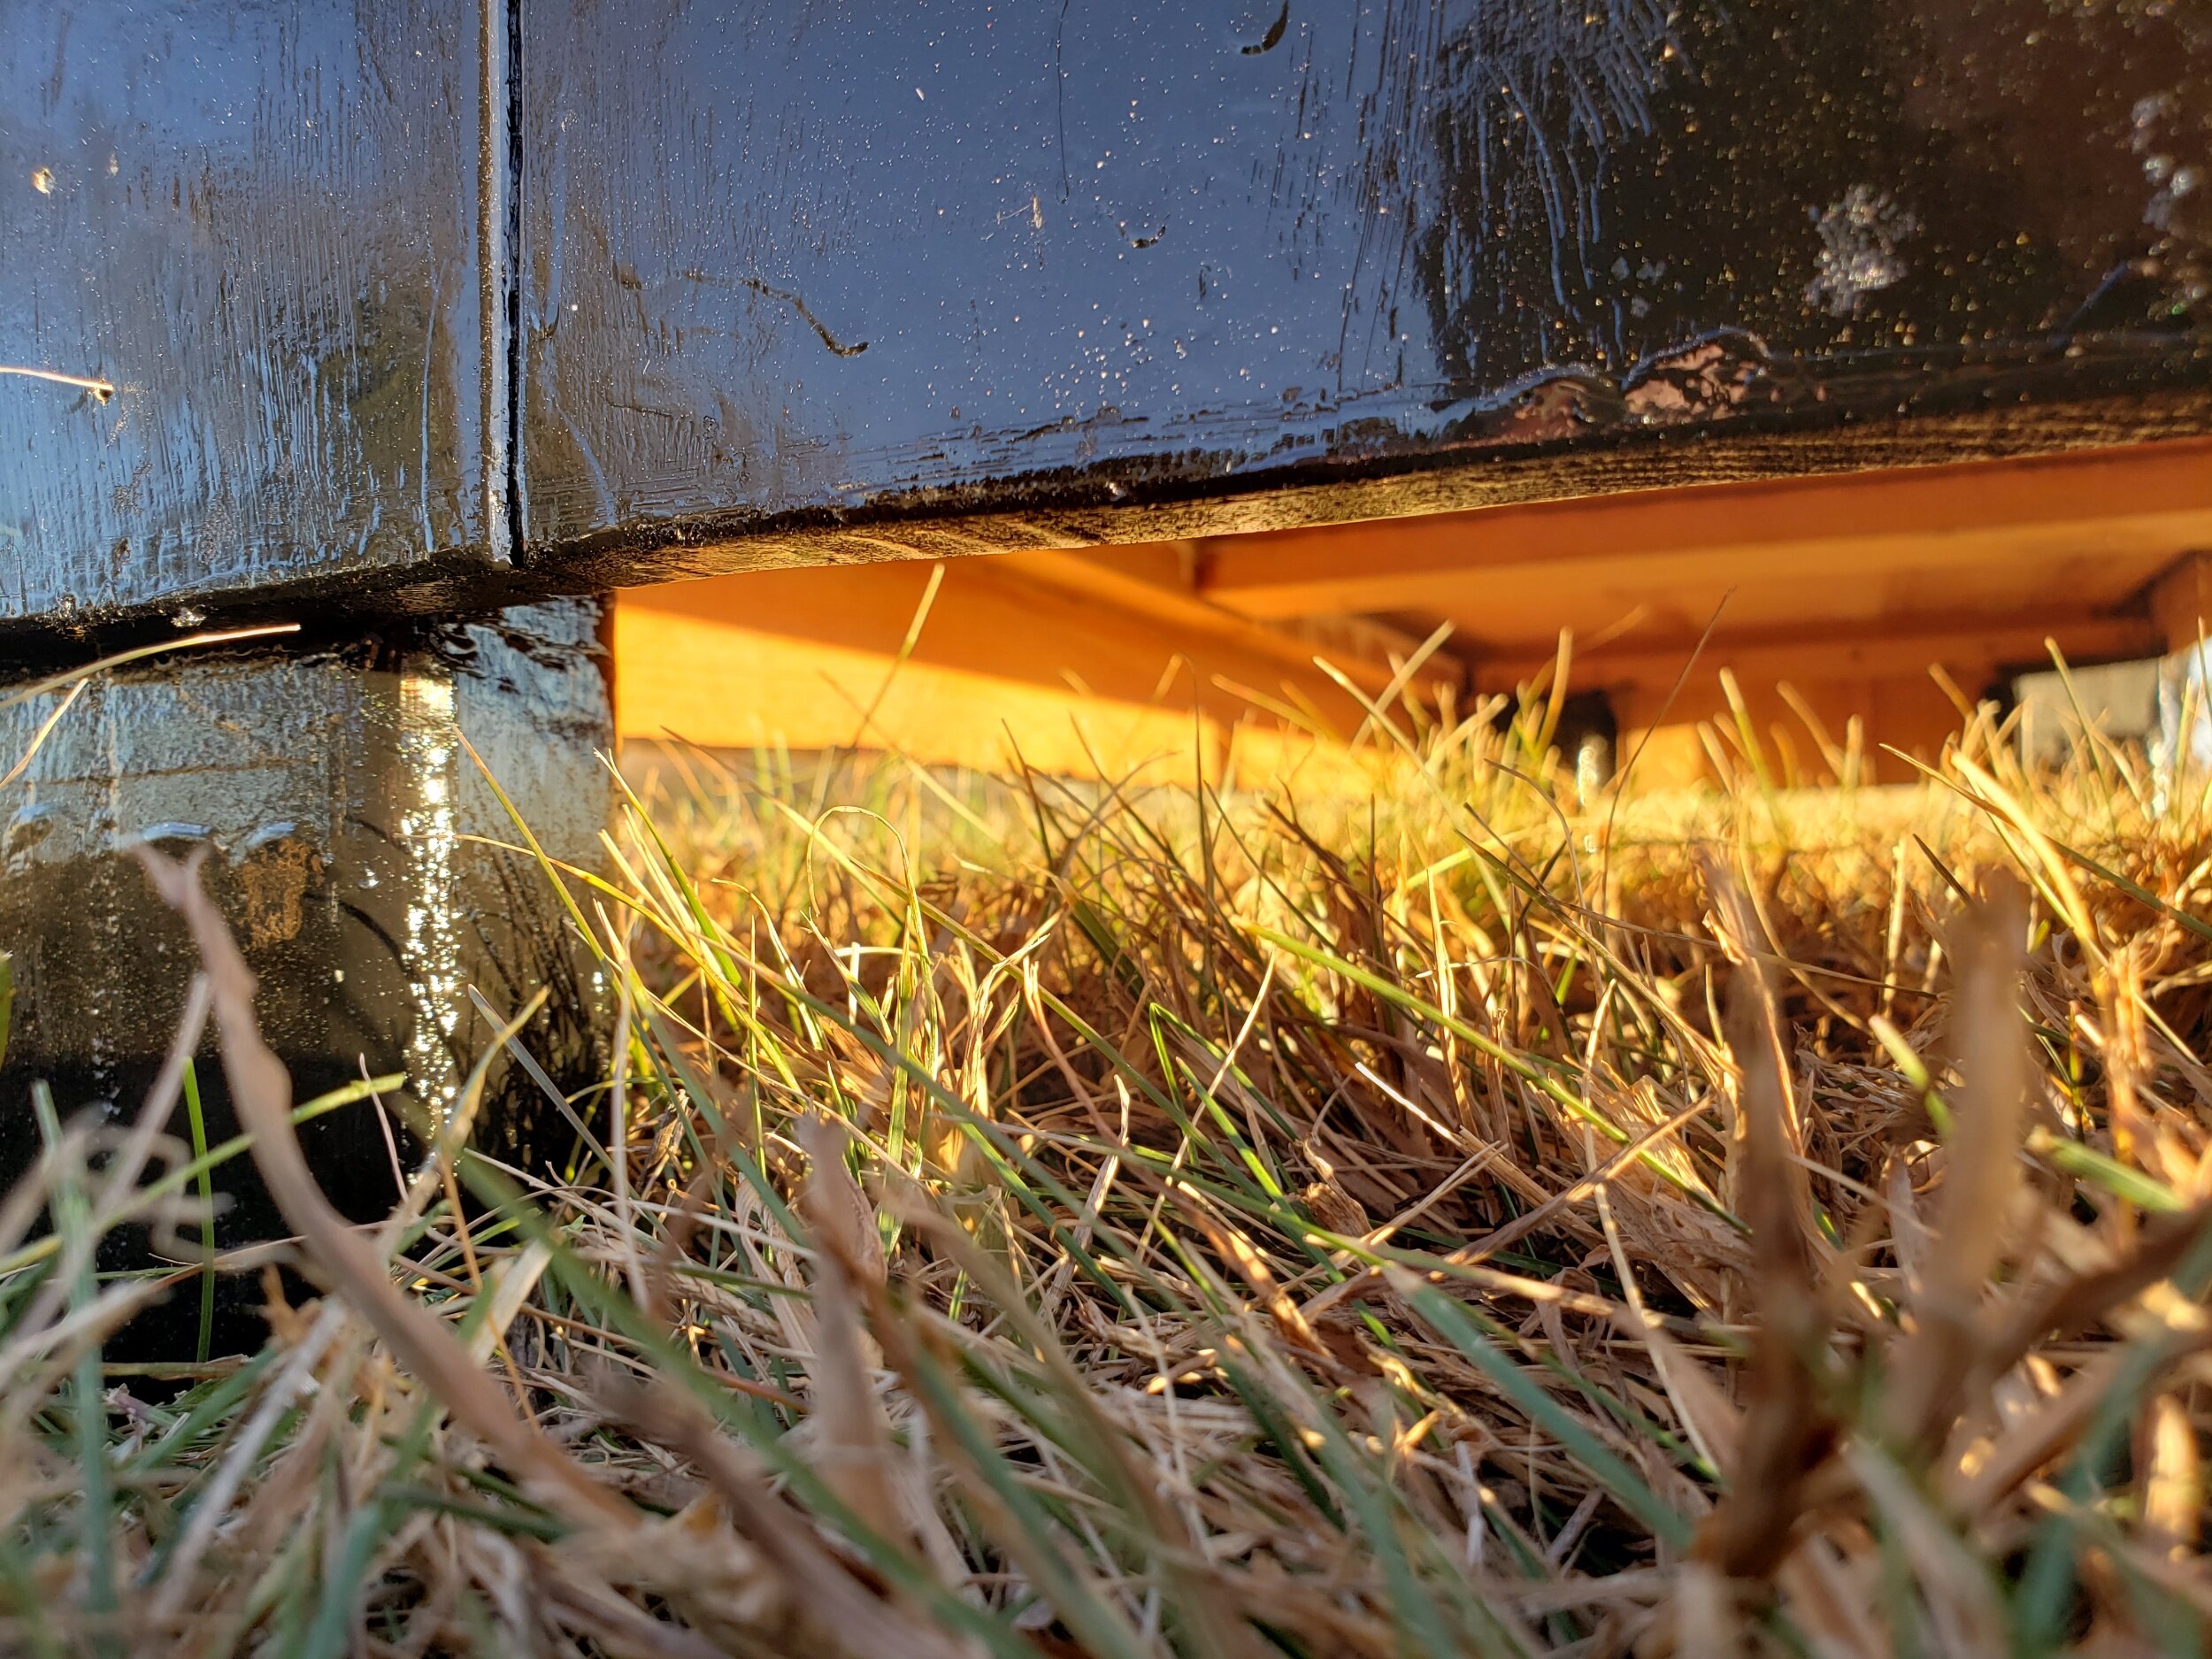
We cut off about two inches off the bottom to get rid of some damage the dresser had endured. We also decided to add some legs so if it ever came across damage again you could replace the legs.
It is definitely a dresser with character!
Also, we want to give a shoutout to our cousin Emme! She came over and helped with some of the stripping and painting!
Overall we are giving this project a TEN!! …okay, maybe a 9.5. ;) We had a lot of fun working on it and it looks great in the bedroom.
-’-Jewel & TaMera
